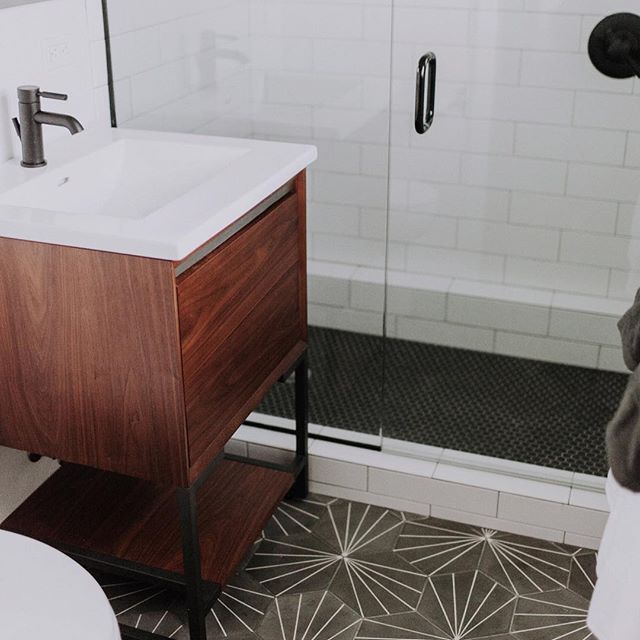
Welcome to the great master bath makeover of 2018! Huge results for under a hundred bucks? Yeah, that's our comfort zone over here. First of all, I won't call this an "after" reveal per se (let's call it a "during"), because as you can clearly see, our little ugly duckling of a master bathroom still does have some transformation ahead of her. In a perfect world, I'd go full HGTV Hulk on this room, sledgehammering out the yellowing cultured marble slabs and the 80s motel-chic mirrored cabinet and Hollywood strip light all in one righteous blow. But because we live in the real world (HGTV producers, call me!), other rooms in the house have taken precedence in our renovation so far, leaving our bedroom and bathroom mostly untouched--until now! Eventually we'd like to come up with a whole new concept for the room that turns our sad, windowless master bath into a tiny, flawless oasis, but until that day, our solution is a mini makeover that involves paint.
Lots and lots of paint.
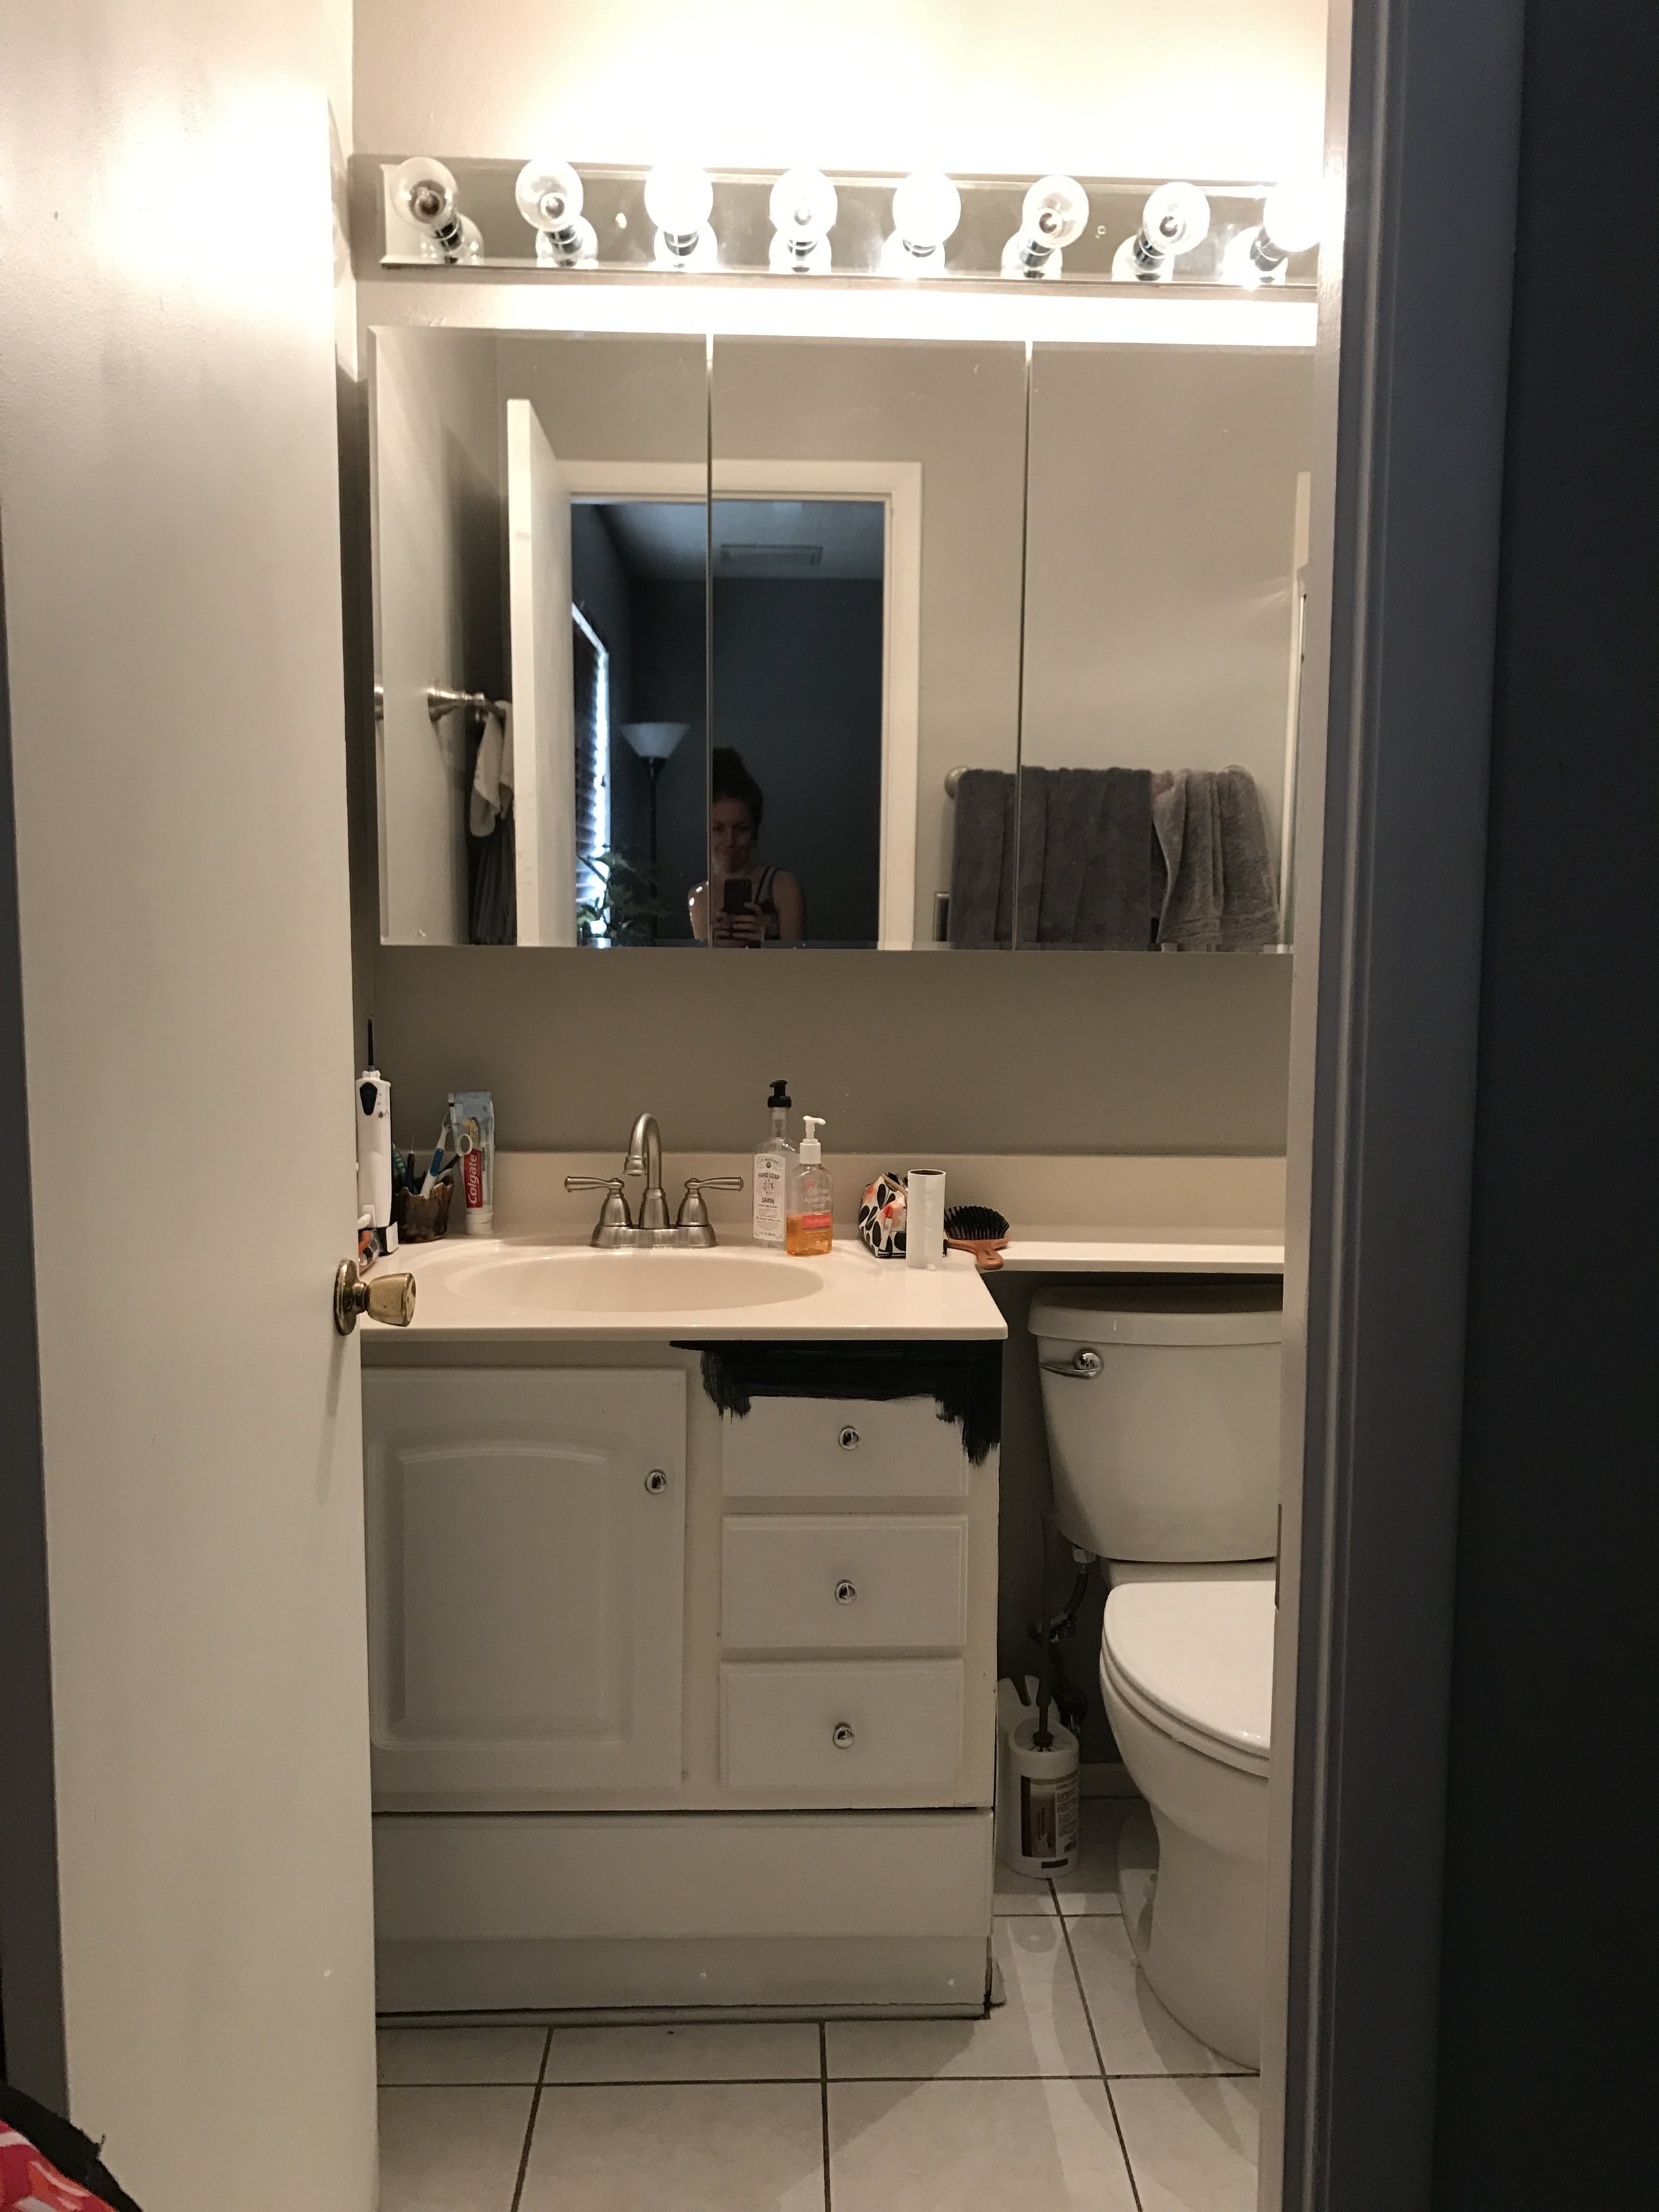
To understand where we started when we bought this house two and a half years ago, though, let me state that this bathroom started out painted a high-gloss, vibrant orchid purple, so in a sense we've already conquered one visual demon. But the tile is cheap ceramic, and the vanity is a particleboard and laminate builder-basic cube, slightly warped from water damage and topped with old-fashioned cultured marble. It needed a lot of help, even if (for now), that beauty is only skin-deep. Ready for the "before" pics? Brace yourselves.
(Here it is in all its hideous glory; I was so annoyed at this room when I snapped the before pic, I obviously didn't even stop to tidy up cords or straighten sloppy towels, let alone style the scene)
Cultured marble is technically "marble" in the same sense that nacho cheese is a finely aged Camembert. They might technically both be made of a similar substance, and even have a similar consistency at times, but the similarities pretty much end there. Cultured marble (a composite made of crushed marble dust) is super 70s, it is awful, and in our case it was tinged with yellowy undertones that made everything else around it look awful as well. Bringing in any kind of bold color next to the vanity only accentuated the sickly yellow hue, so we decided to go monochromatic in soothing shades of grey and near-black.
In case you were wondering, YES, the shower is yellowish cultured marble as well. Oh happy day.
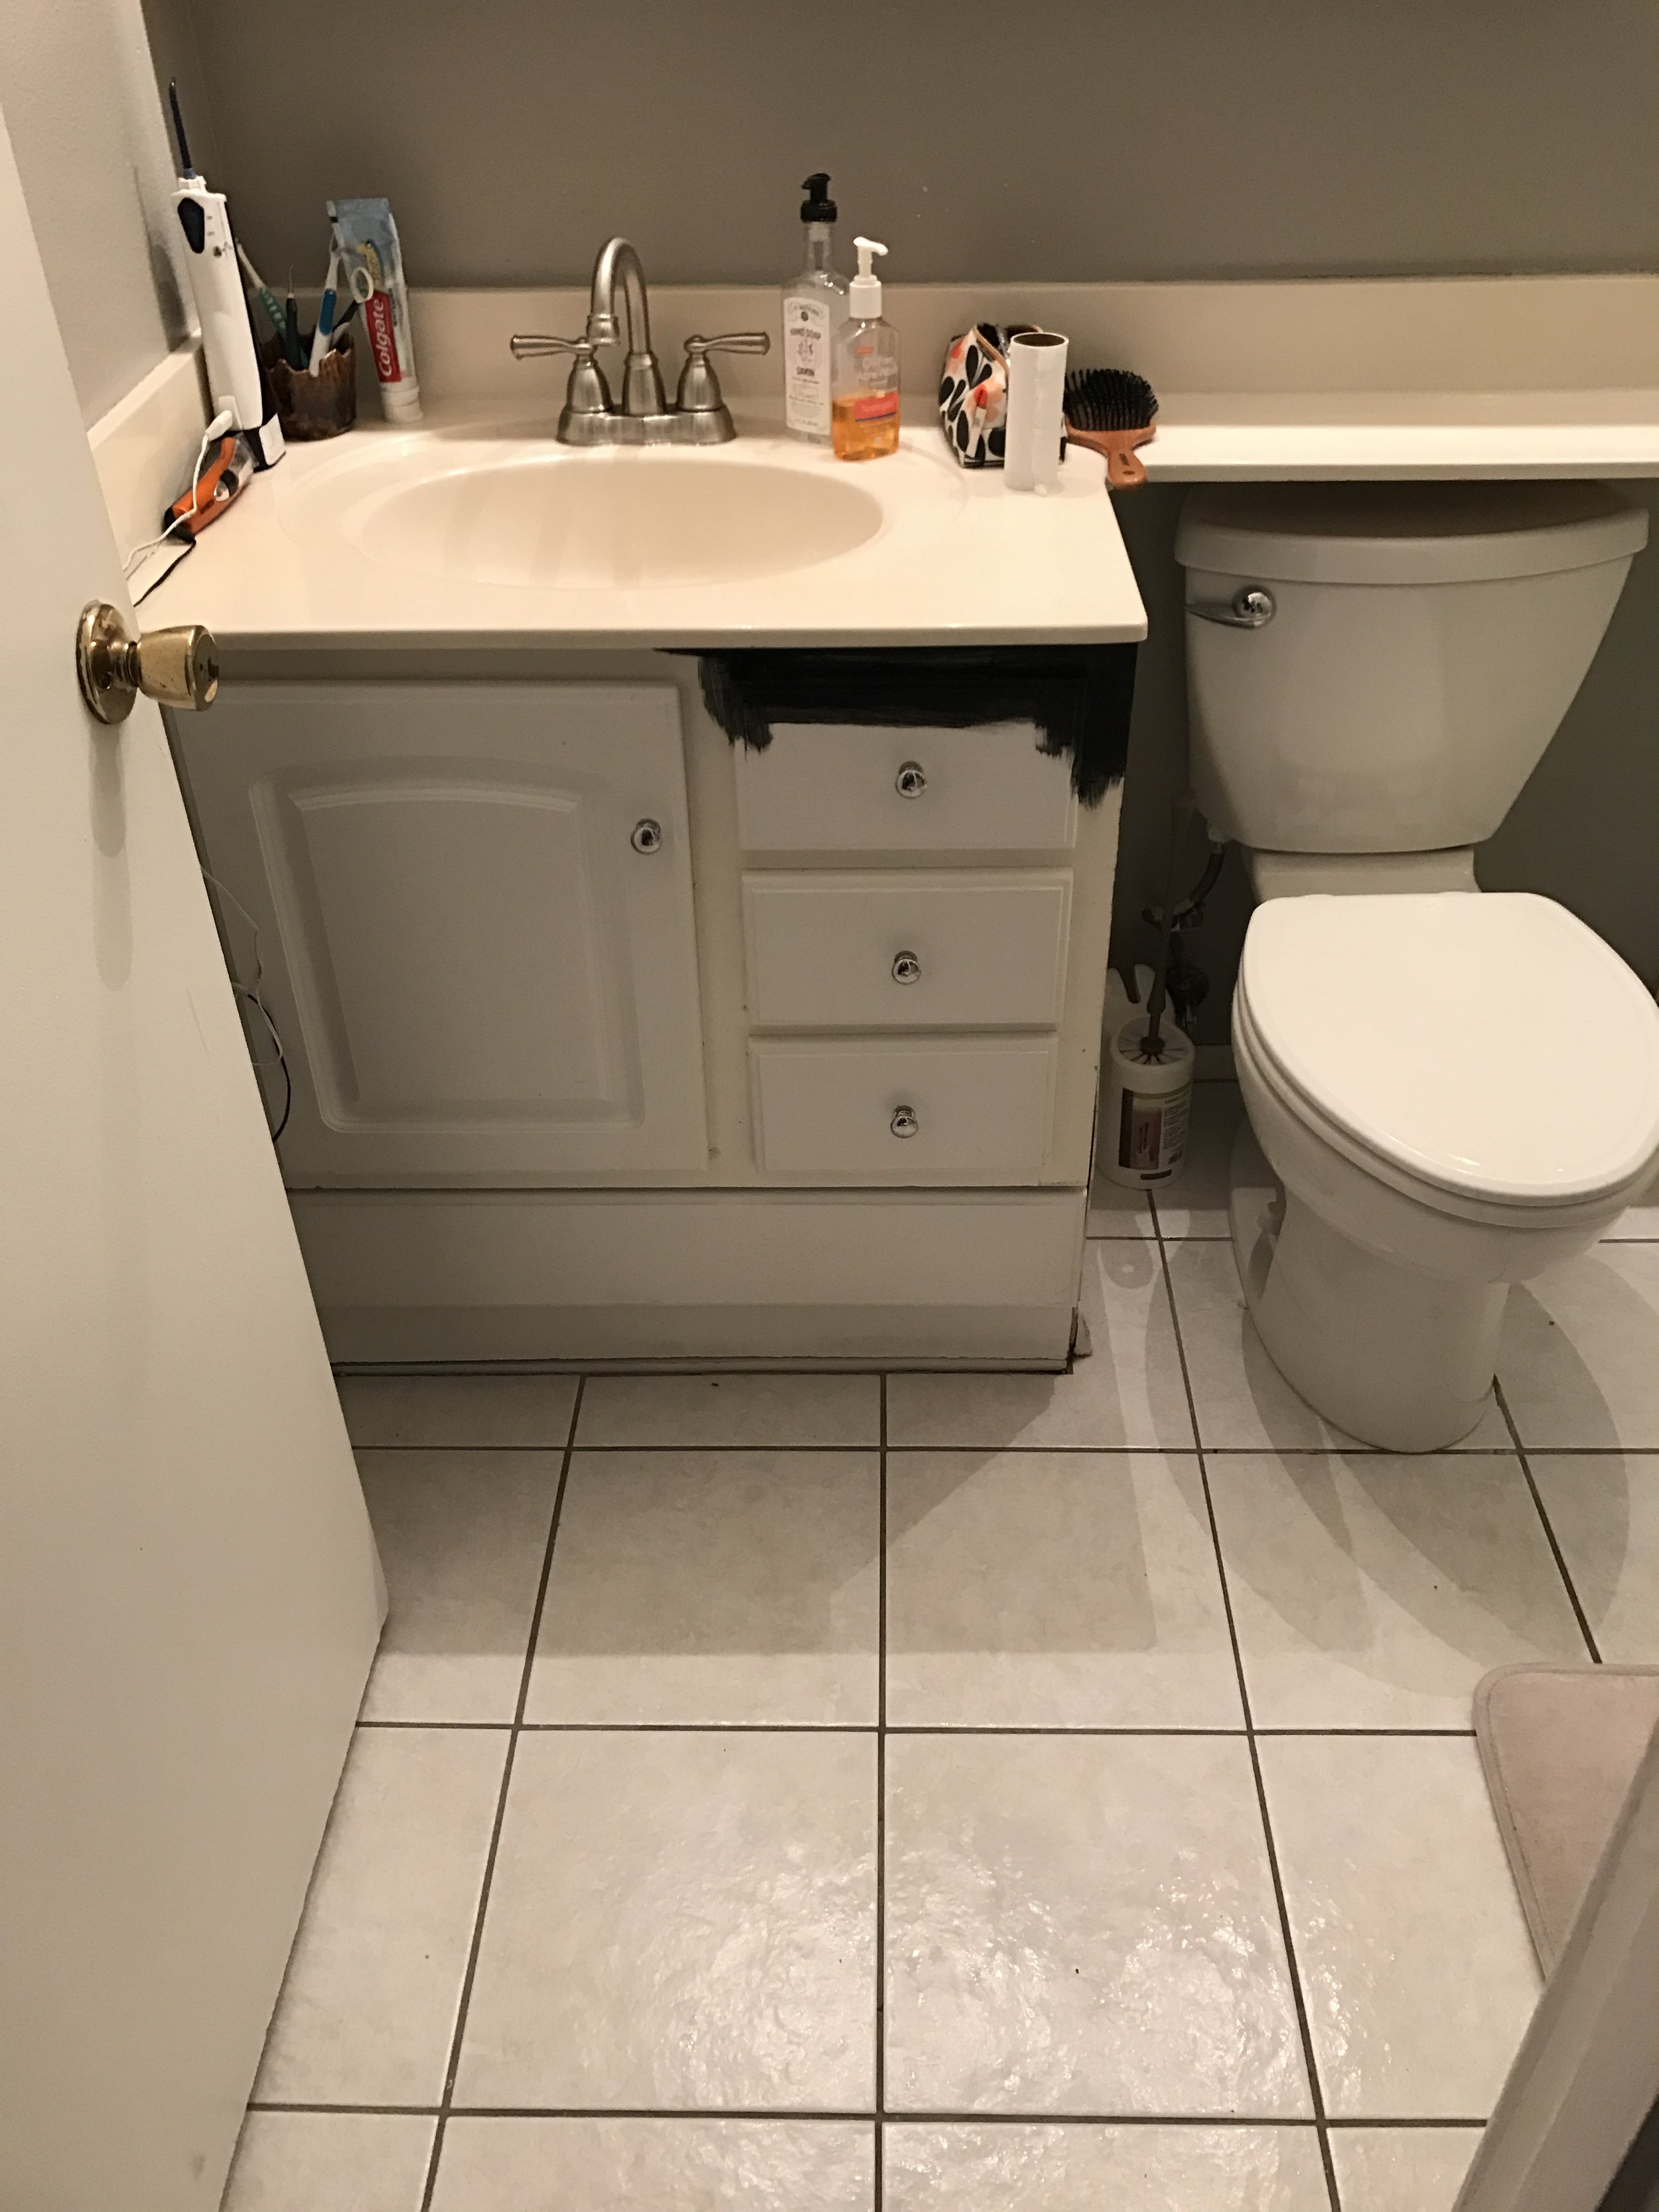
(Our original floor, the blandest tile that ever blanded blandly)
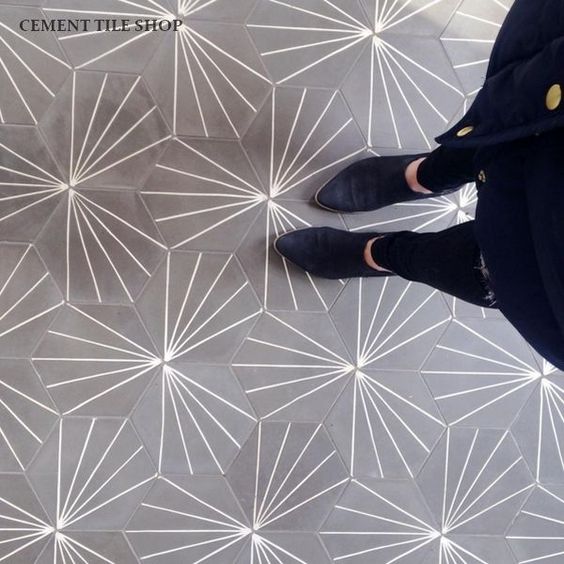
(The midcentury mod cement tile inspiration of my dreams)
All of this is leading up to the fact that, nearly three years into the purchase of our home, I discovered a few blogs claiming that it was possible to successfully paint ceramic tile floors, and I was like...
...YOU HAVE MY ATTENTION, INTERNET.
While I'm at it, why not paint the chipped, dirty white laminate cabinet a sleek, dark charcoal and swap out the chrome knobs for stylish, inexpensive bar pulls? Worst case scenario, we'd only have been out the cost of a few basic materials. And so....the great $100 bathroom makeover of 2018 began!
How to Paint Your Tile Floor with Chalk Paint (for undeR $100):
(This post contains a handful of affiliate links to the exact products I used wherever possible)
Materials:
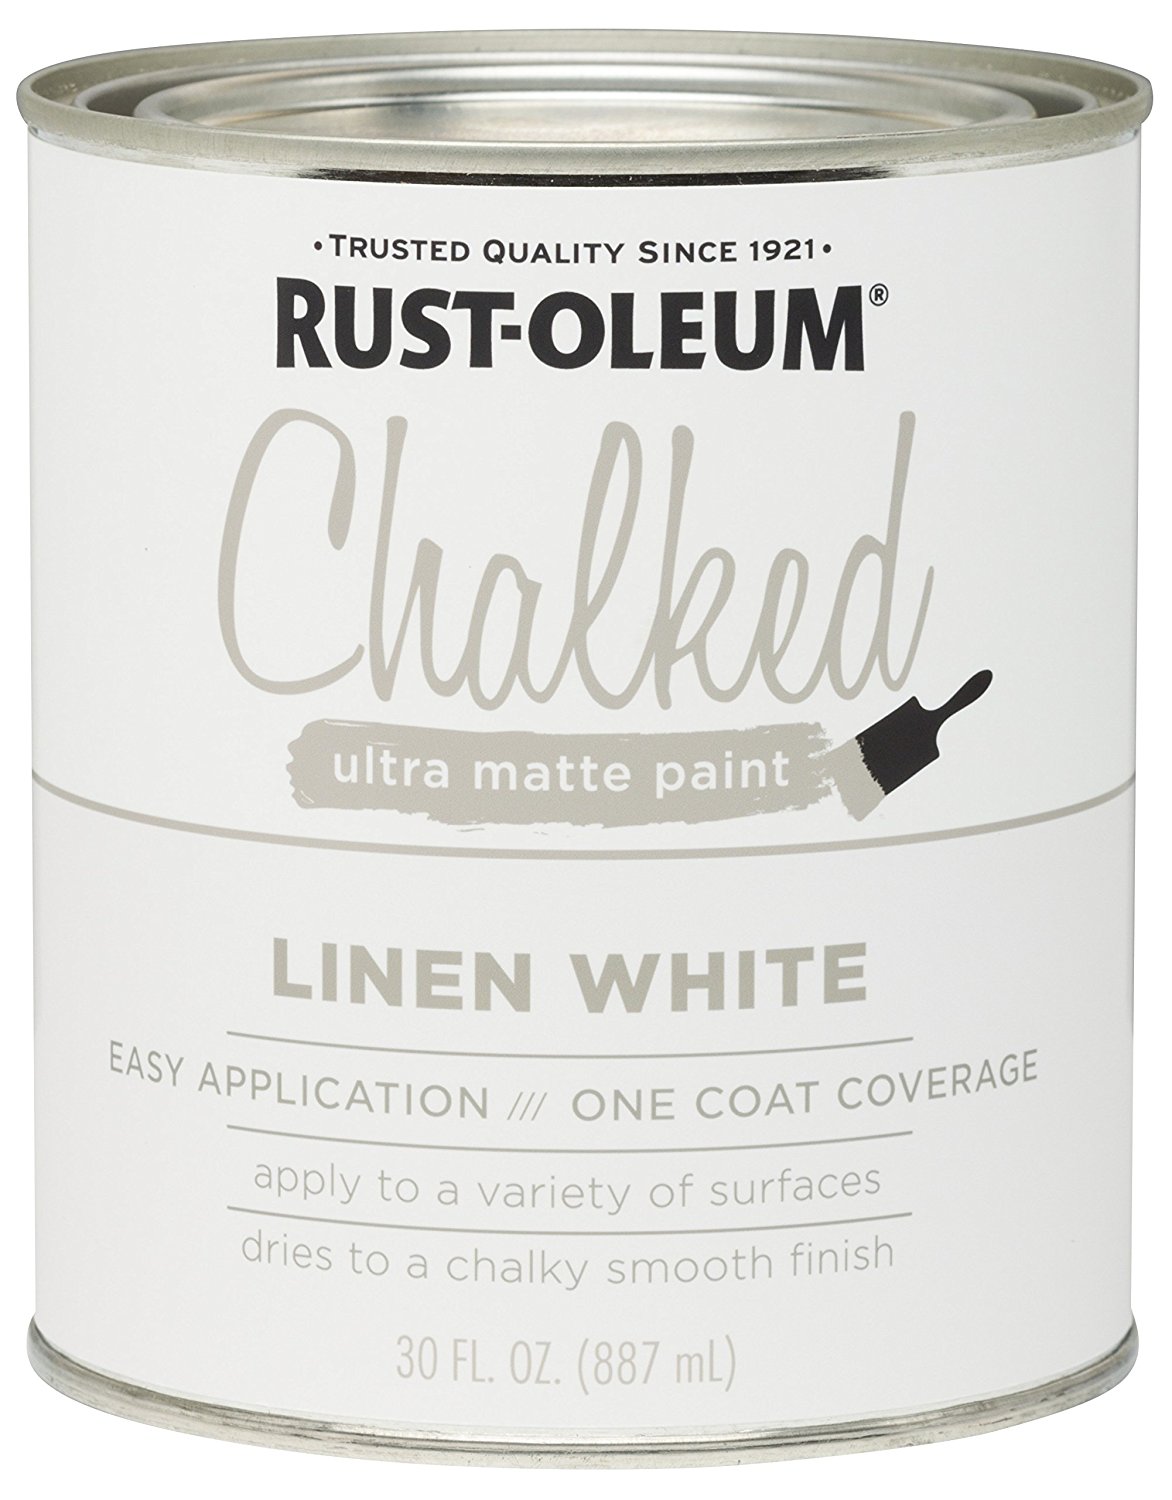
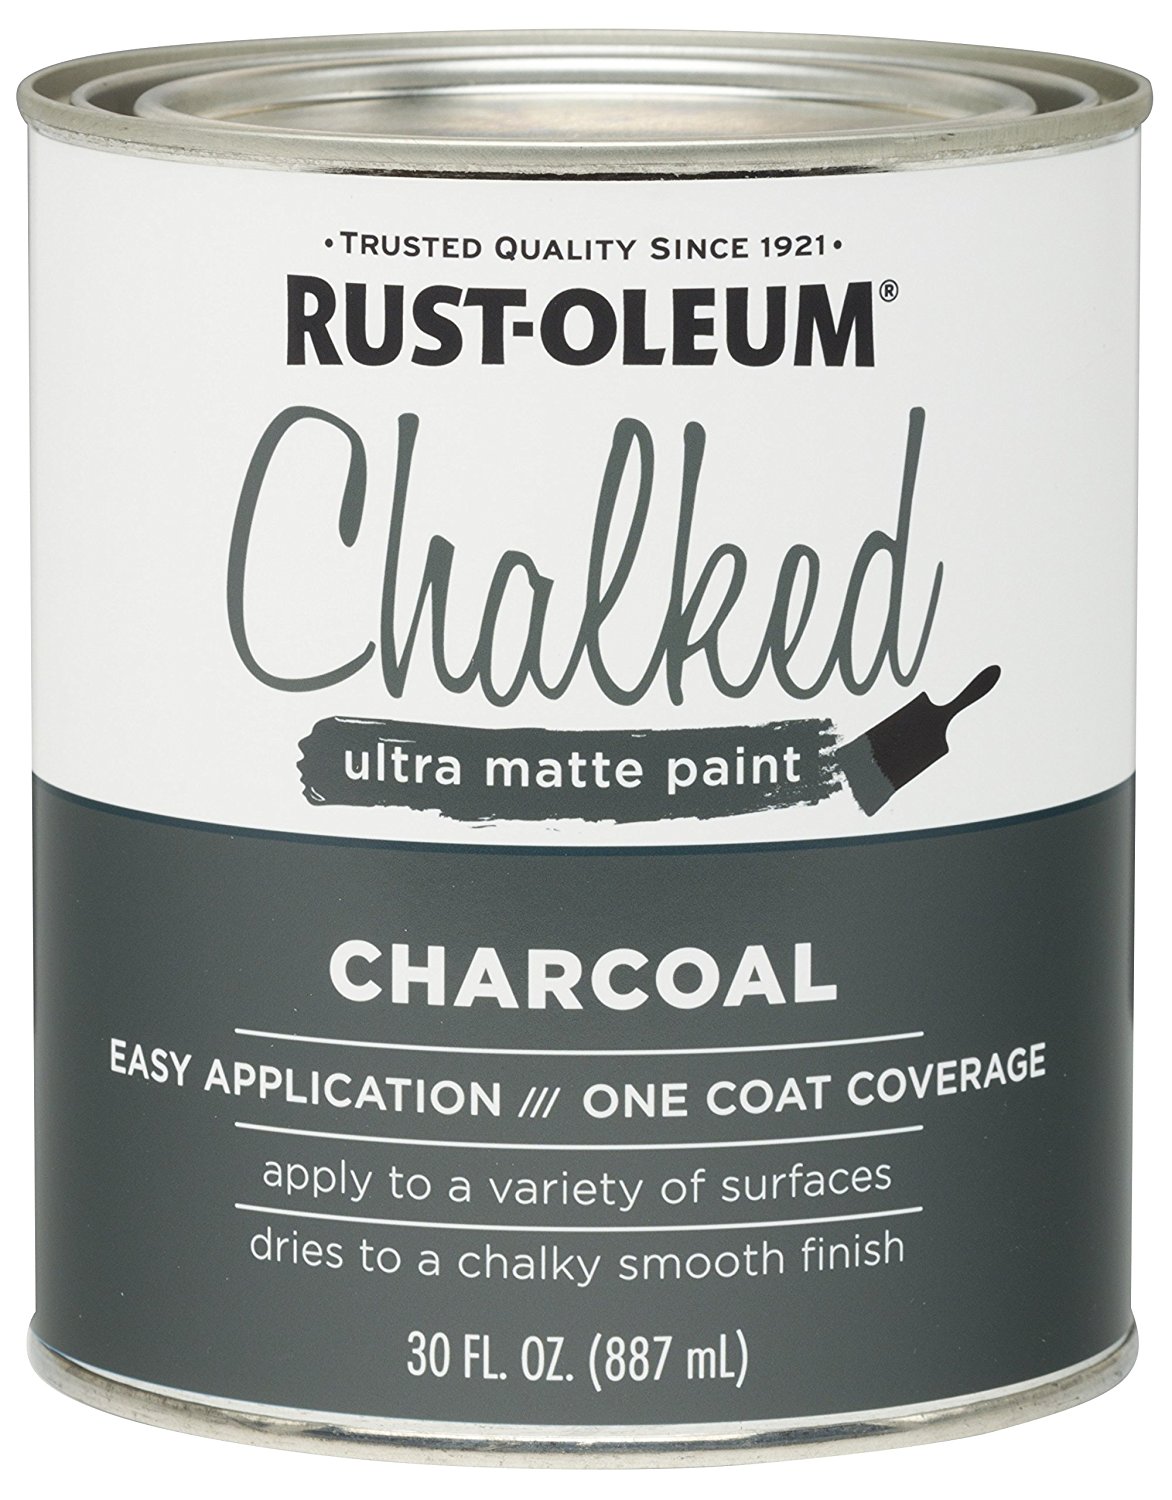
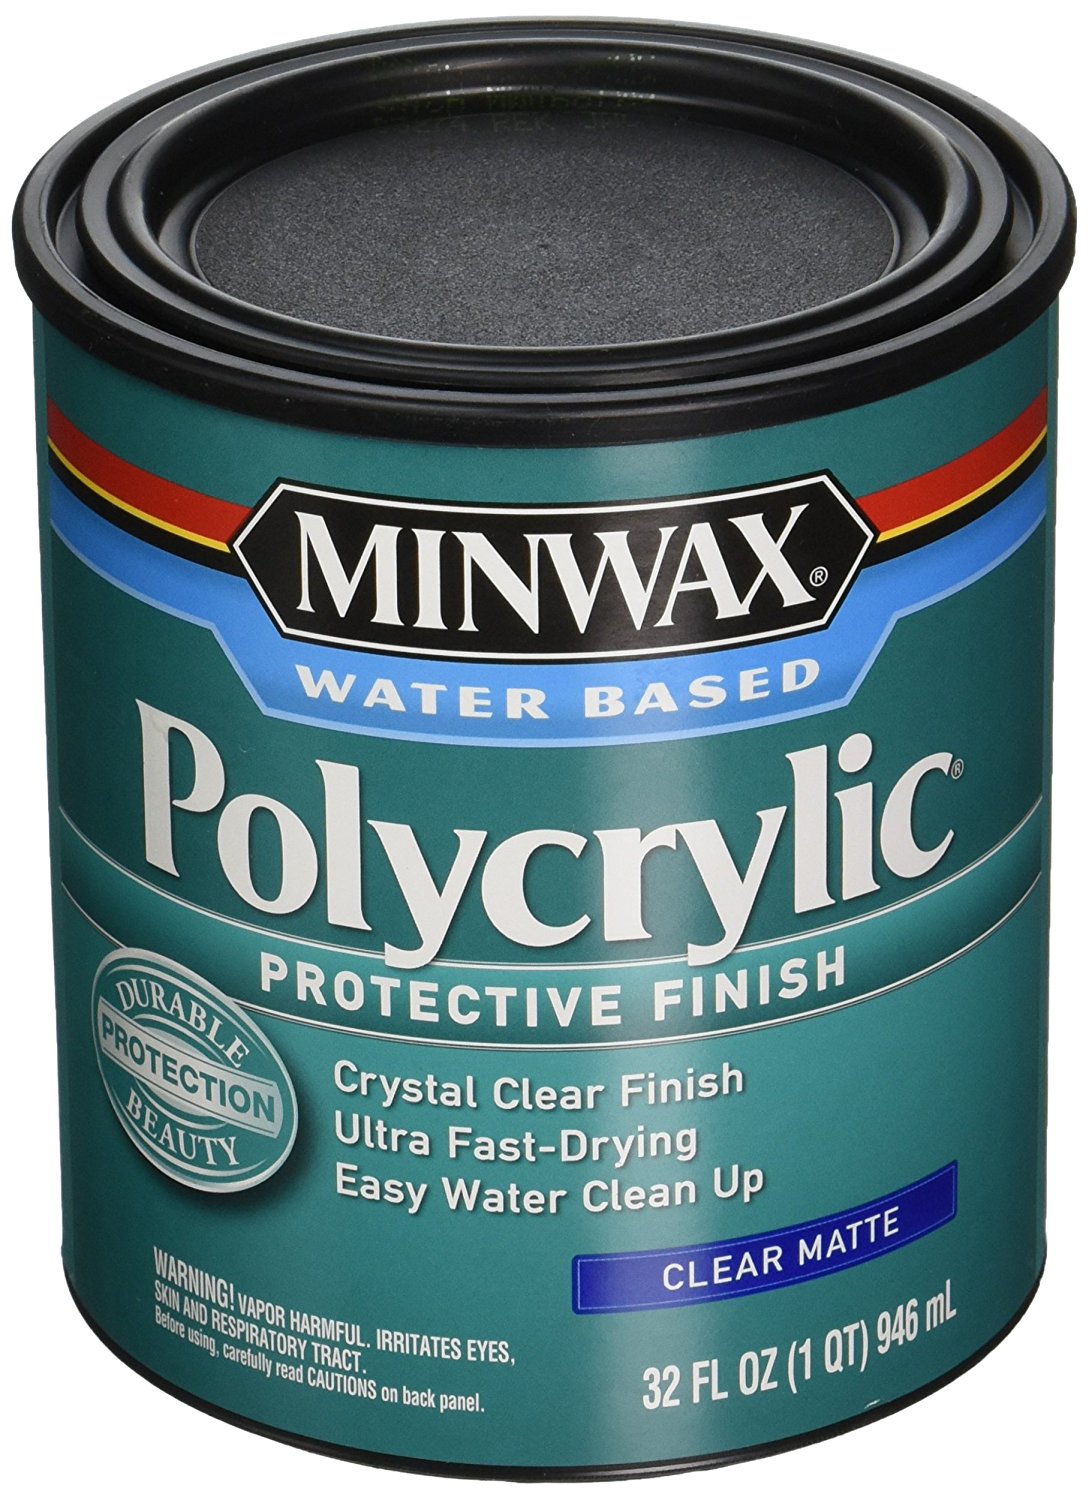
Bleach, Krud Kutter, Zinsser Primer, mini roller with fine nap, nylon edging brush, Rustoleum Chalked Linen White, Rustoleum Chalked Charcoal, 1/4" painter's tape, Minwax Polycrylic Finish (Matte)
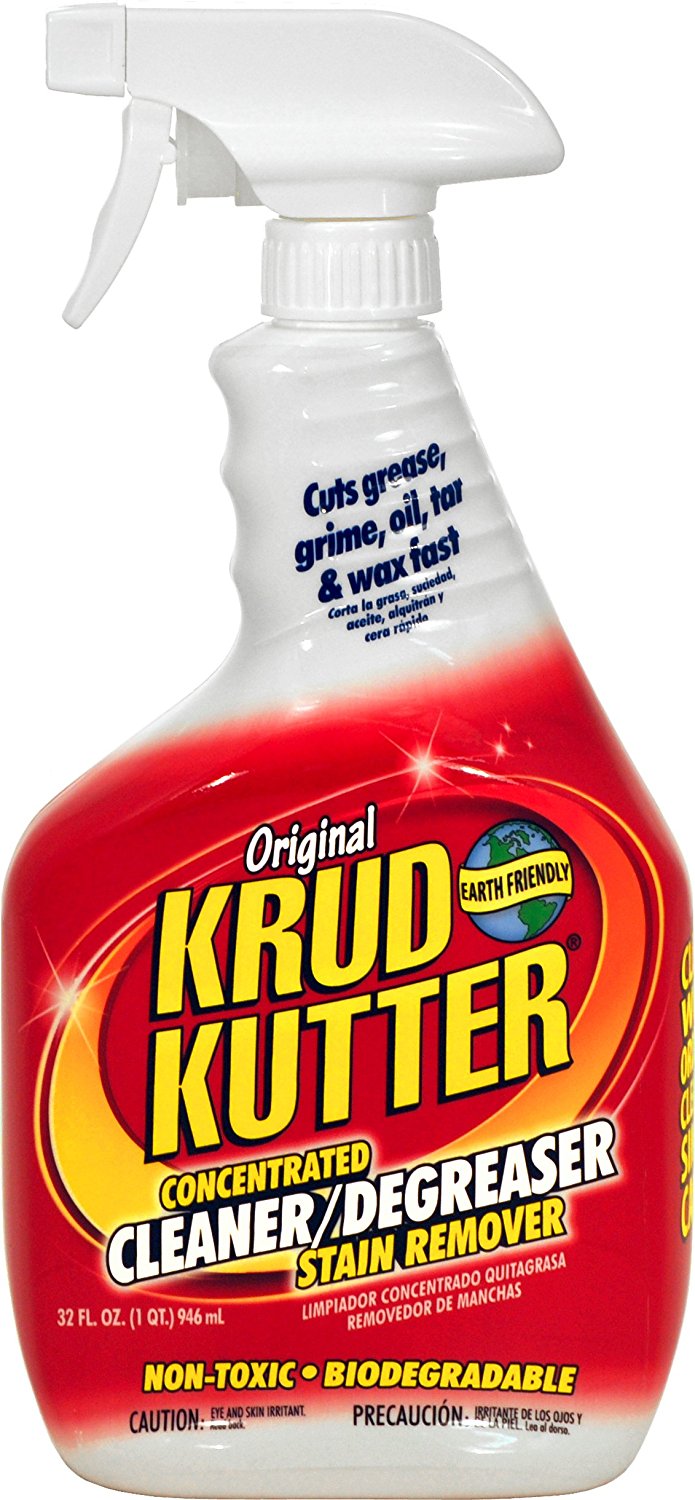
1. Clean your floor. I mean, really clean clean it. I vacuumed, then scrubbed with a mild bleach solution, then finished by wiping it all down again with a degreaser such as Krud Kutter. Let dry completely.
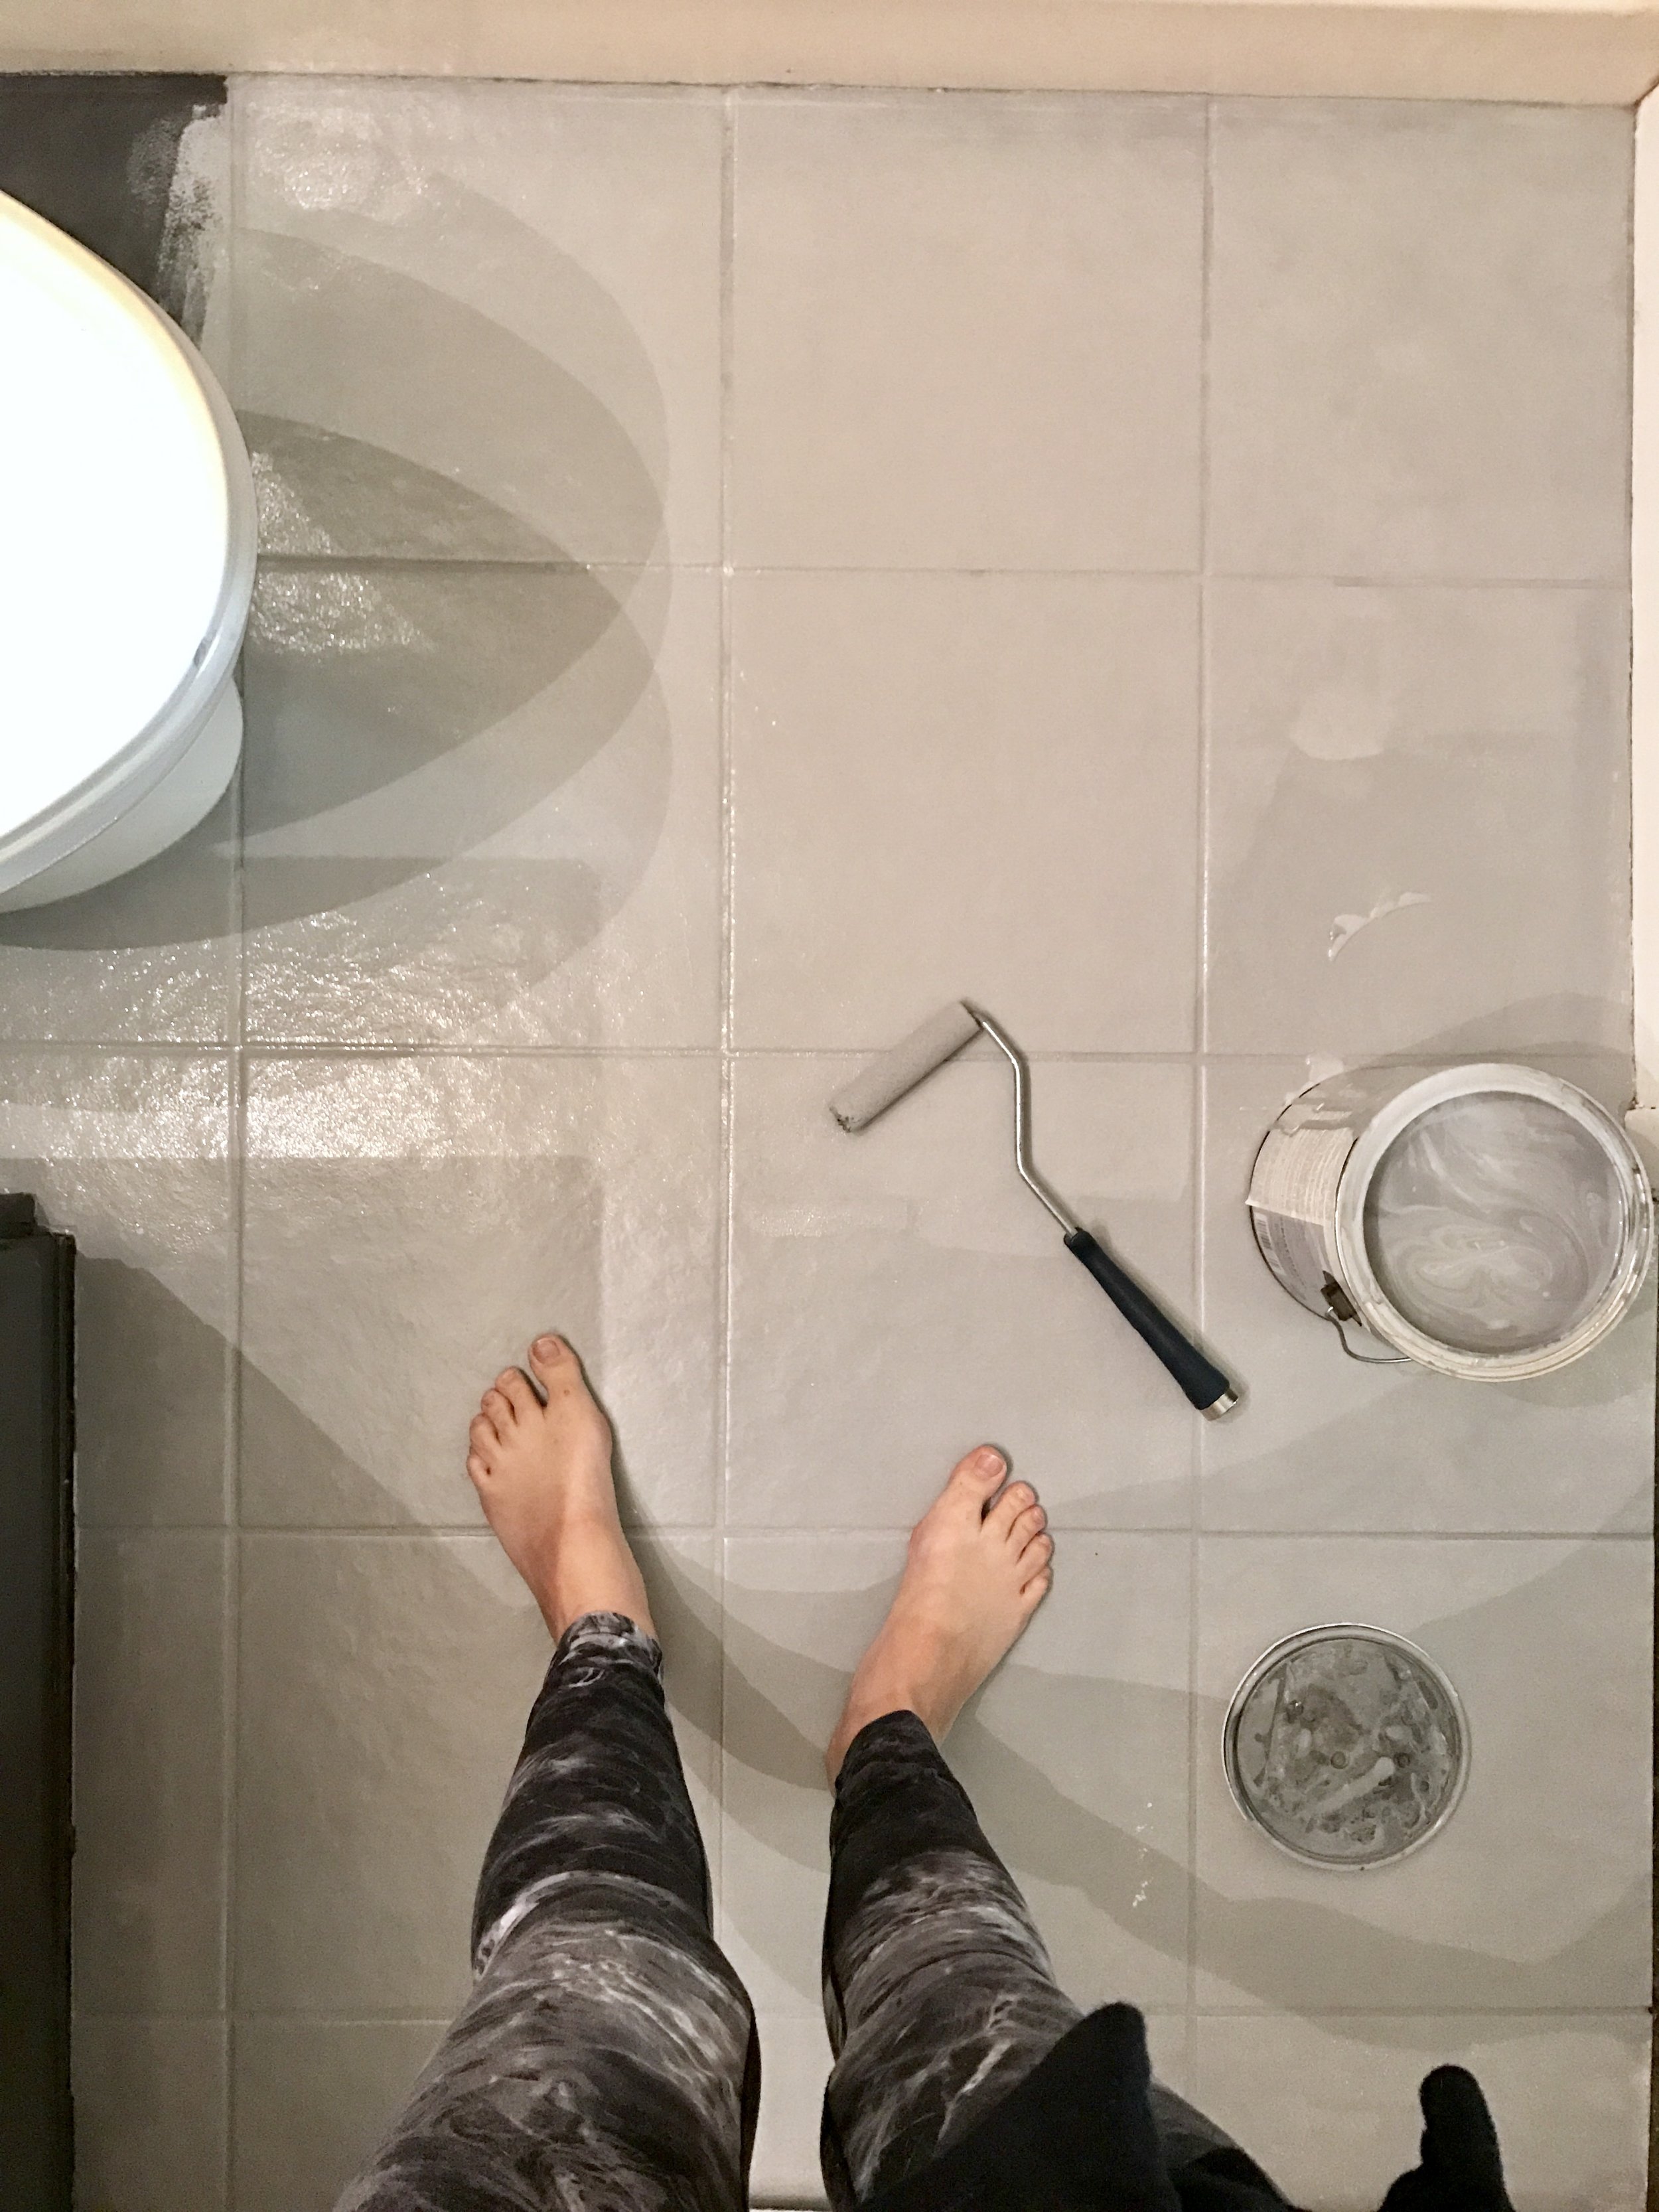
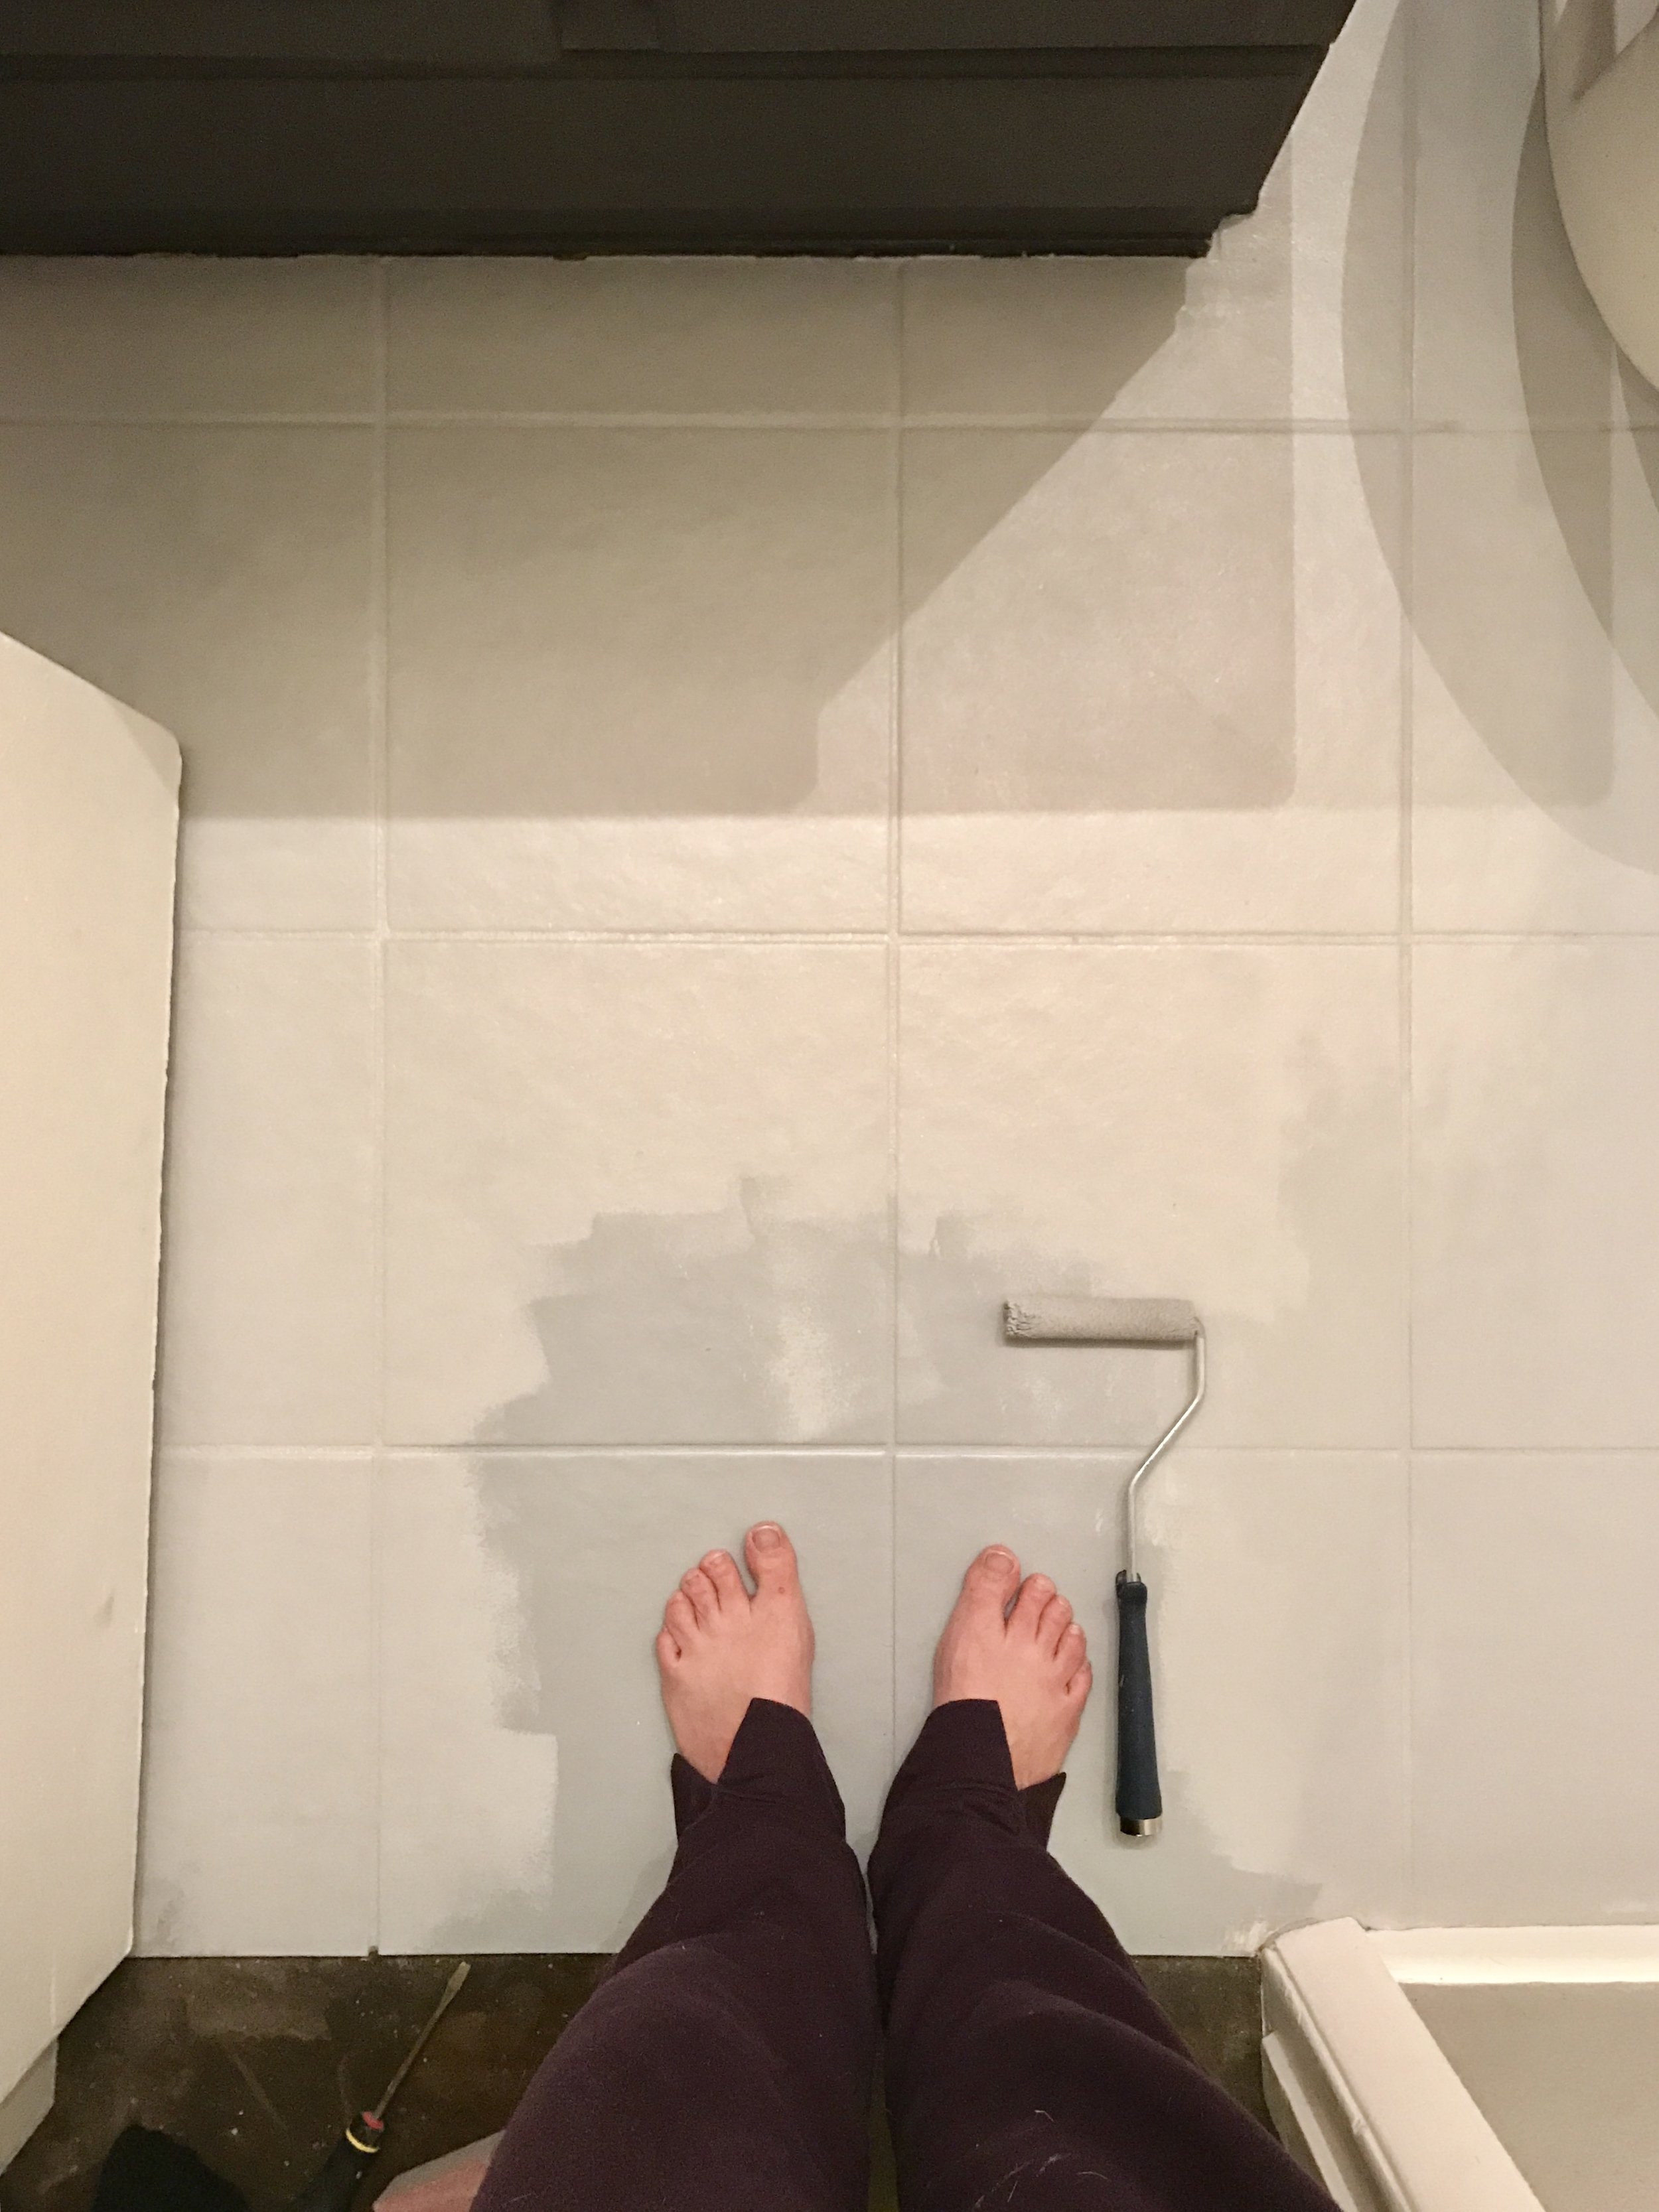
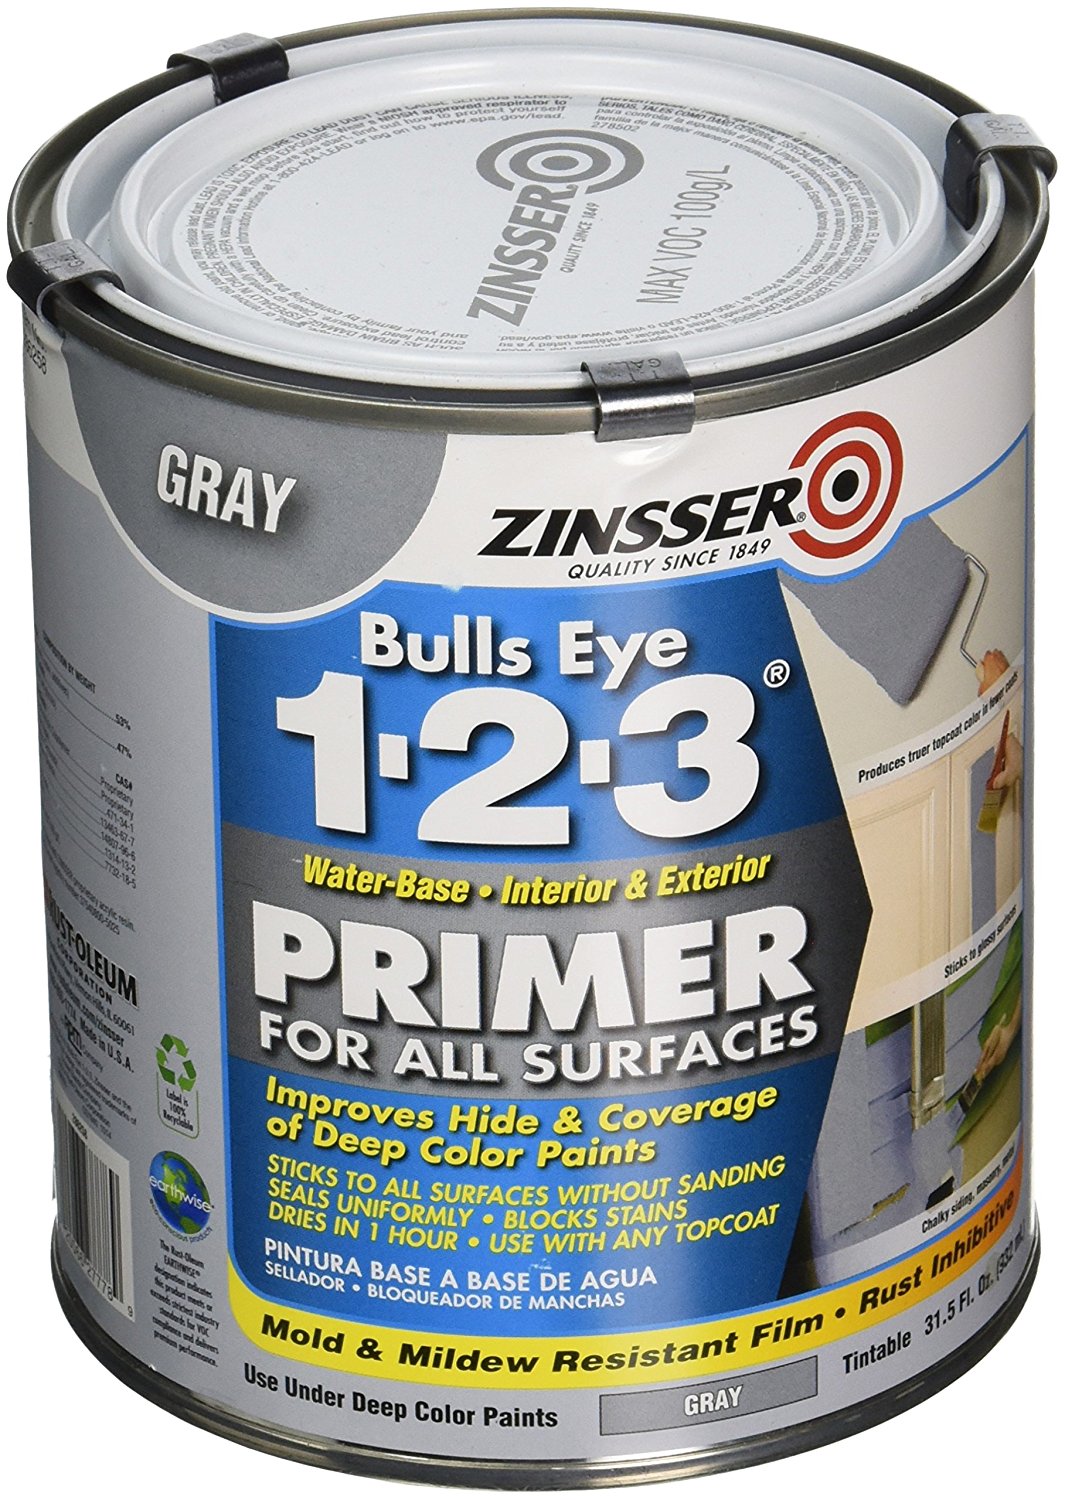
2. Using your mini roller and a nylon edging brush, apply two thin, even coats of primer, letting each coat dry thoroughly in between. Since I was fitting this DIY project in between regular mom and work duties, I often had to leave it alone for hours at a time anyway. If you're in a bit more of a time crunch, you could probably shorten the drying time (refer to the back of the can for manufacturer's recommendations on minimum drying time).
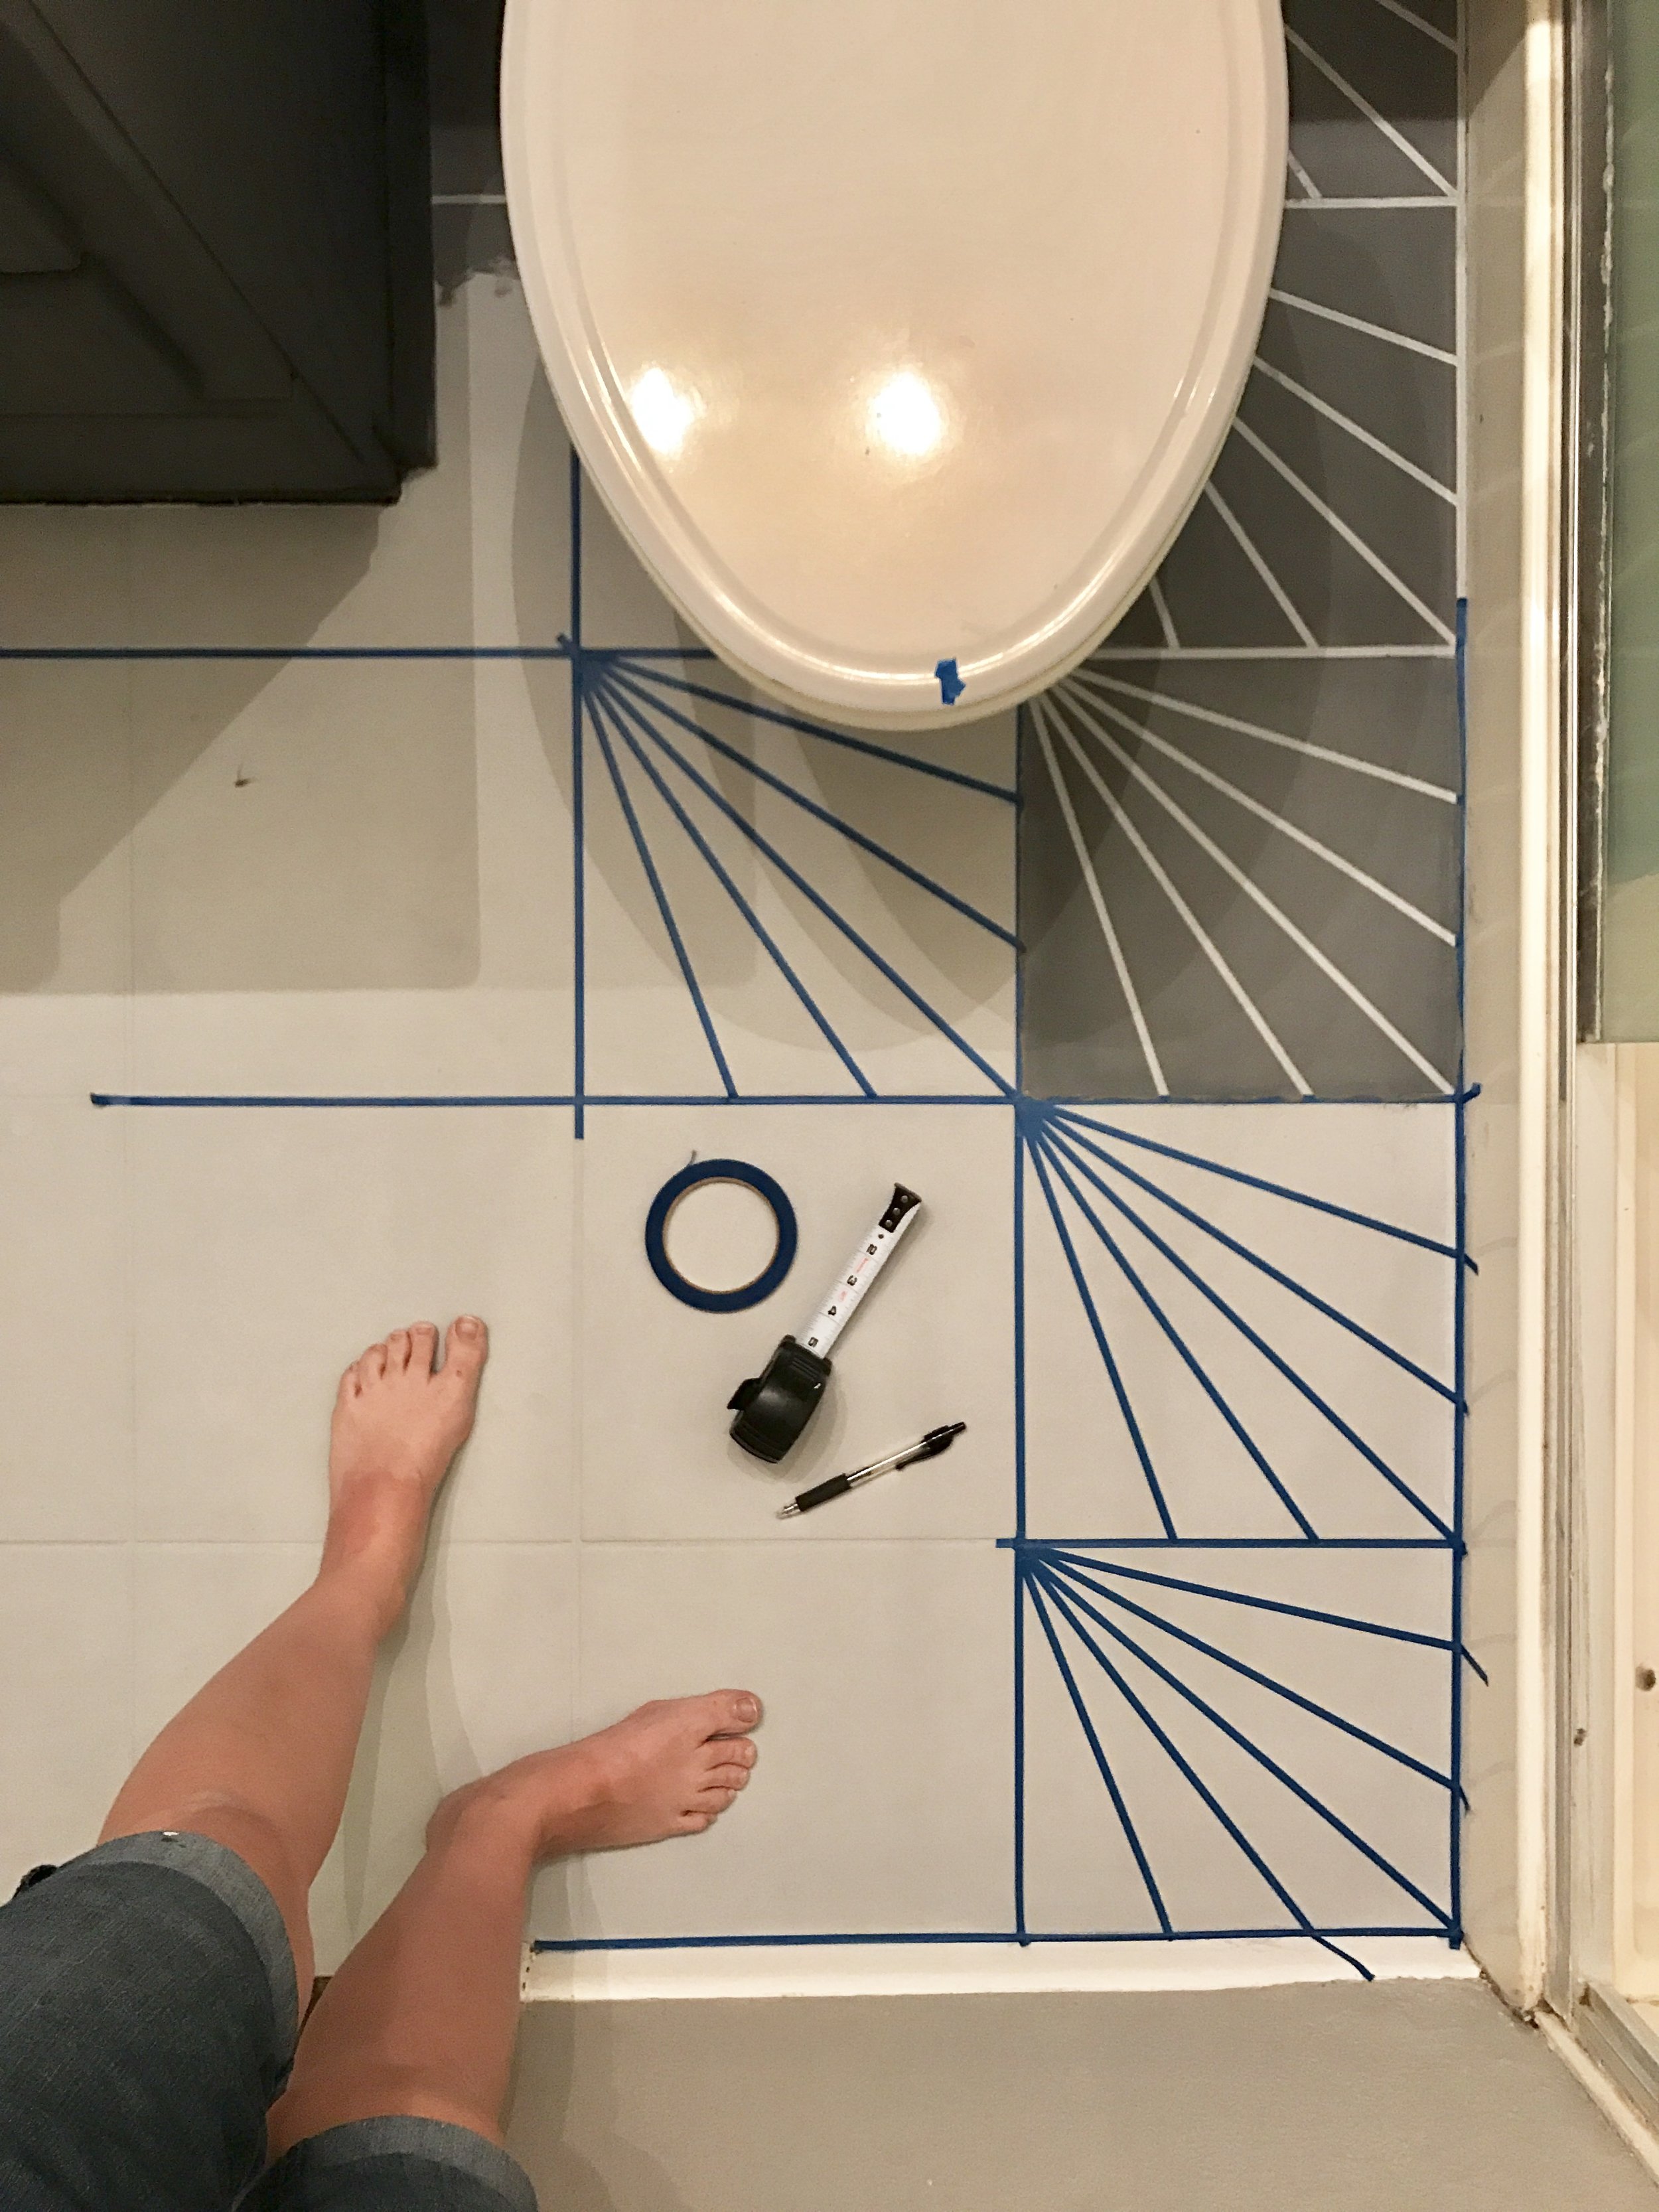
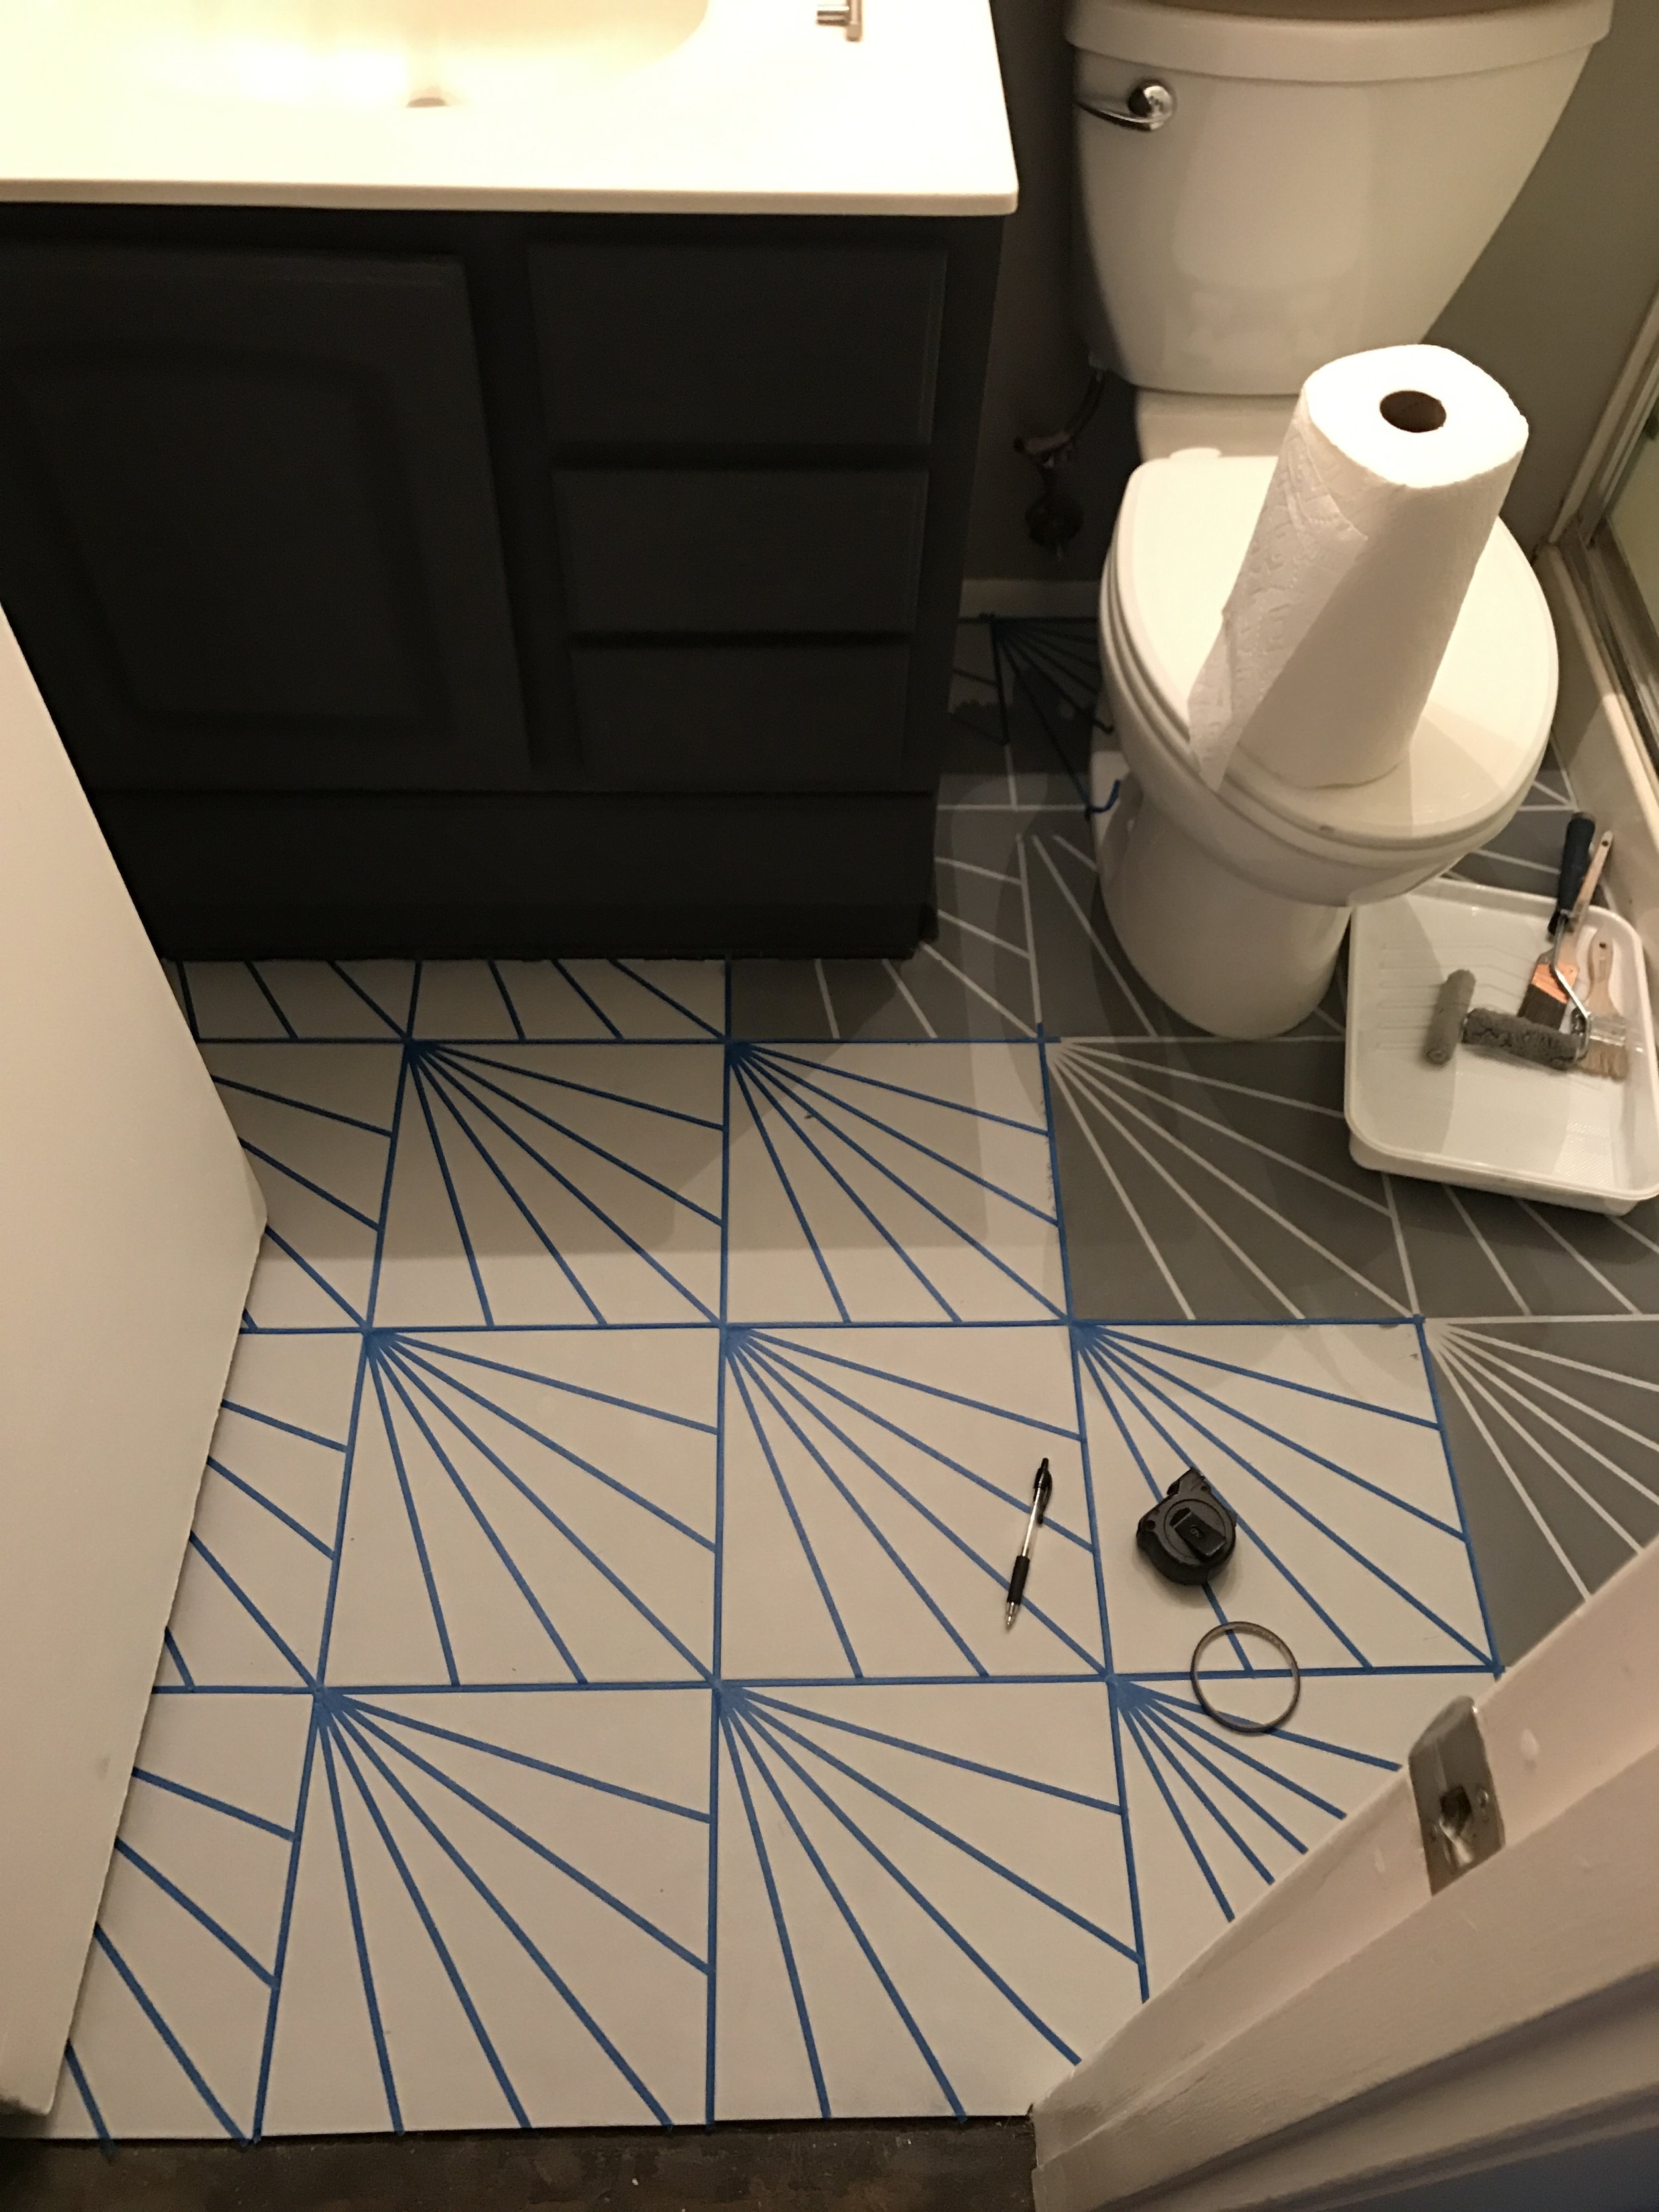
3. Decide on a color for your grout lines, and lay this color down first. I mixed Linen White and Charcoal to create a light grey that would delineate not only the grout lines between our tile, but the decorative starburst pattern on them as well. Apply this in two thin, even coats, let each coat dry completely.
4. Using 1/4" painter's tape (or else use the size that corresponds to your existing grout lines), tape off grout areas and decorative pattern. If you're going for a different style, here is where you'd use a stencil on the main area of each tile.
5. Mix a secondary color for your tile (in my case, a darker blend of Charcoal + Linen White), apply in two thin, even coats and let dry completely.
6. Carefully remove your painter's tape. I was super nervous that the tape might pull up layers of paint below it, so I tested this first in a few out-of-the-way spots, and had complete success in all of them. If you live in a more humid climate (this was winter in the desert, after all, so very dry air), you may want to keep a tiny paintbrush handy for any touchup needs--but generally, I think that if you peel the tape slowly and carefully, you'll get perfect lines every time.
7. Finally, using a fresh roller, apply two thin, even coats of matte protective finish, letting each dry completely in between (see back of can for drying time, I gave these at least eight hours in between).
....and there you go! For less than $100 (which includes the cost of ALL materials listed here, plus the set of brushed nickel bar pulls I installed on the vanity), we managed to turn our dingy & dated tiny bathroom into a cozy modern oasis. Would I like to rip out the builder basic mirror and Hollywood light, and retile the shower in something gorgeous? OH YES, and stay tuned for future installments of this transformation! I also plan to post a follow-up to this post after six months and twelve months of daily use, for all those who are interested in the painted floor's longevity (I know I'm curious to see how it holds up). In the meantime, I'm letting out a little sigh of happiness every time I step into the bathroom now, which now feels like my own personal spa.
Want to try this on your own? Got questions I didn't cover? I'd love to hear your success stories, concerns, or anything else in the comments below!
